
How to Organize Thousands of Photos on Your iPhone
When I was a kid growing up in Massachusetts, there was a wild chain of stores called Building 19. My mom was obsessed with the stores and she dragged me to one at least once a week.
They were massive, warehouse-style stores packed floor to ceiling with the most random mix of stuff you’ve ever seen—bankruptcy leftovers, overstock furniture, fire sale merchandise.
One aisle might have a stack of $10,000 oriental rugs, and right next to it? Cans of spray paint. Or a folding table overflowing with lemon cookies across from a pile of truck tires. One time I remember they had racks of fur coats from some famous Italian furrier and they were surrounded by inflatable pool toys.
It was a hot mess… but that was part of the fun.
You never knew what treasure you might find.
It worked because it was disorganized. It was exciting. It was expected.
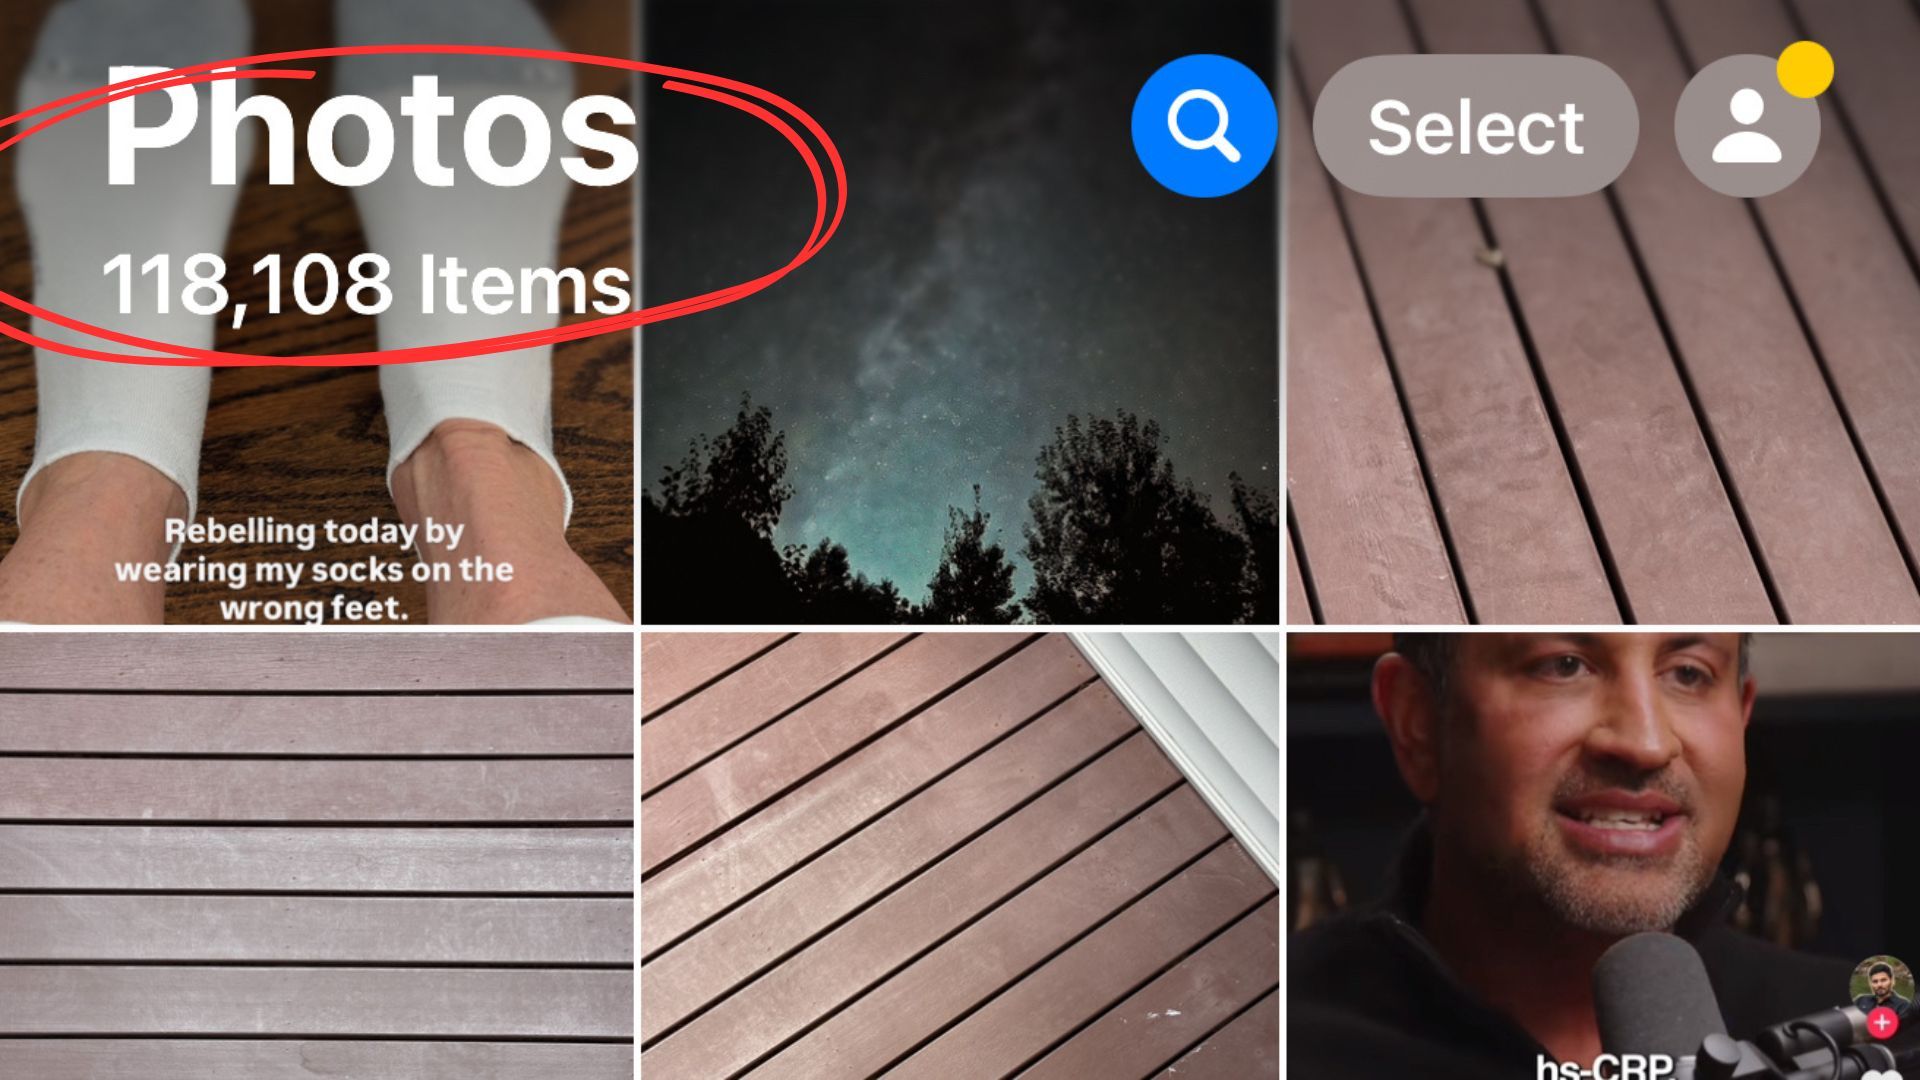
But you know what isn’t fun to dig through like a disorganized Building 19? Your camera roll!
Let’s be honest: your phone probably looks a little like Building 19 right now.
Mixed in with the actual work you want to share are:
-
A progress shot of a client’s kitchen
-
A photo of your dog
-
A screenshot of a funny meme
-
A blurry close-up of tile from a showroom
-
…and 6 photos of a wallpaper swatch from 18 months ago
When you’re trying to find that one perfect shot to post or show to a client, this kind of chaos isn’t charming. It’s frustrating. And it wastes your time.
The Good News? You Can Fix It—in 30 Minutes or Less a Month.
Let me introduce you to what I call “Photo Maintenance Day.”
It’s a simple 5-step monthly ritual that keeps your camera roll clean, organized, and actually useful—instead of one big digital mess that makes you want to give up and grab stock photos (please don’t!).
Here’s what to do:
Step 1: Delete the Duds
Start with a quick scroll through the past month’s photos. Get rid of anything blurry, poorly lit, or accidentally taken while trying to unlock your phone. If you wouldn’t show it to a client or post it online, it doesn’t need to stay.
Step 2: Move Photos to Project Albums
Create albums for each client or project in your Photos app. Label them clearly such as “Smith Kitchen Reno” or “Maple Ave Living Room.” Then, move all related images from the past month into the right albums. Done.
Step 3: Favorite the Keepers
Mark a few of your best photos with the ❤️ icon. This automatically creates a curated “Favorites” album, which is perfect when you need a quick shot for social media, your website, or a last-minute client update.
Step 4: Add Notes for Future Reference (iphones only)
On iPhones, swipe up on a photo and you’ll see a place to add a caption. Use this to
add notes like:
-
Wall color: "Ben Moore White Dove"
-
“kids' bathroom before”
-
“Before cabinet install”
Trust me, this is a game-changer when you’re reviewing multiple phases of a project eighteen months from now...especially wall colors!
Step 5: Back It Up
Please, please, back up your work. Whether it’s the Cloud, Dropbox, or Google Photos, don’t trust your entire portfolio to one phone. You’ve worked too hard for that.
Your Work Deserves to Be Seen—Not Buried in Digital Clutter
I loved Building 19 for what it was: a treasure hunt in chaos.
But you’re running a business, it won't thrive in disorganization..
You don’t have time to dig for the one good photo among 10,000 random photos, memes, and screenshots. And you shouldn’t have to.
With just 20–30 minutes a month, you can take control of your camera roll, make your future self’s life easier, and always have your best work right at your fingertips.
Sadly, Building 19 closed its doors for good in 2013. Turns out, even the king of bankruptcy bargains couldn’t escape bankruptcy itself.

What's in My Camera Bag?
If you want to peek behind the magic curtain and start using the exact same tools that I use, click below.