
Tips for shooting Interiors with a Smartphone
Whether you are an emerging designer without the budget to hire a pro, or you already work with top-notch interior design photographers regularly…The ability to shoot your own photos, taken and edited right on your phone, is a game changer. Check out my best tips for shooting interiors with a smartphone.
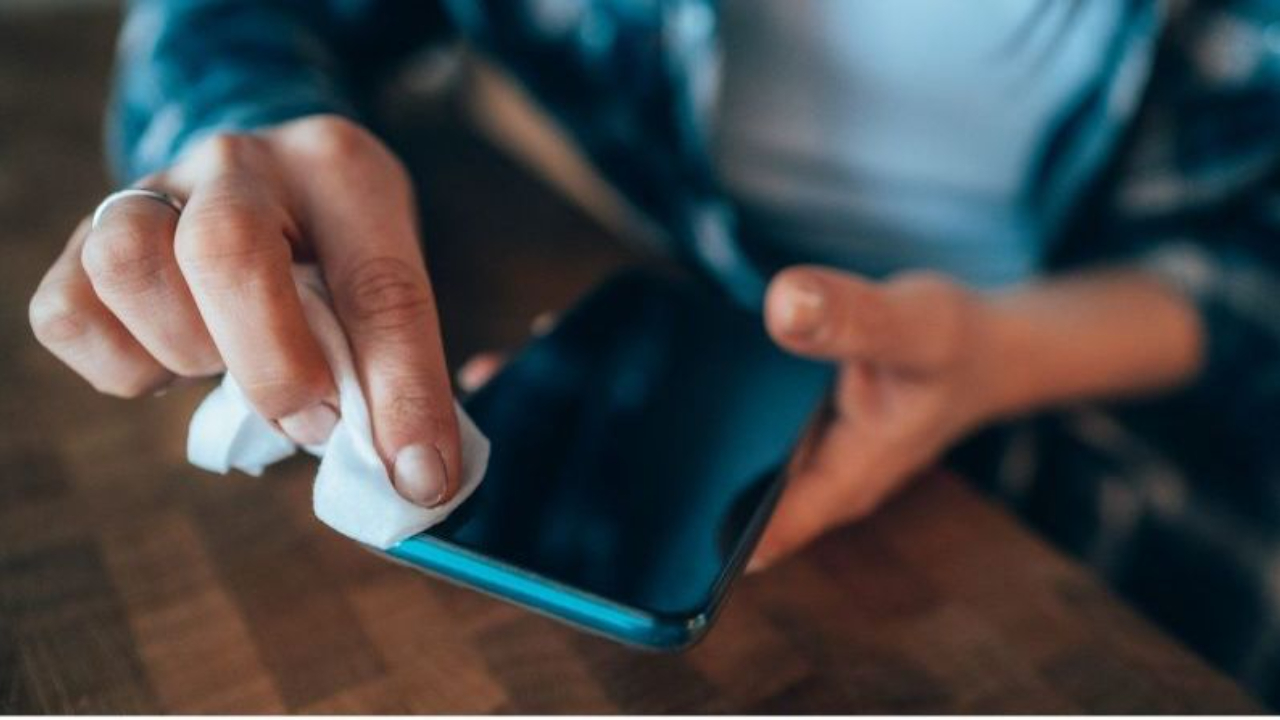
1.Clean your lens
Yes, I know this sounds so basic and I can see the eye rolls from here but seriously, CLEAN YOUR LENS. A phone that’s been stuffed in your bag, resting on the counter while you cook, or sitting in the cup holder of your car, is bound to be dusty, greasy and dirty.
Starting off with a clean lens is a good start to knowing your final images will clear.
2.Time your shoot
When shooting interiors with a smartphone you don’t have the advantage of using lighting equipment such as the pros use. Time your shoot to take advantage of natural EVEN light. This will produce the best results.
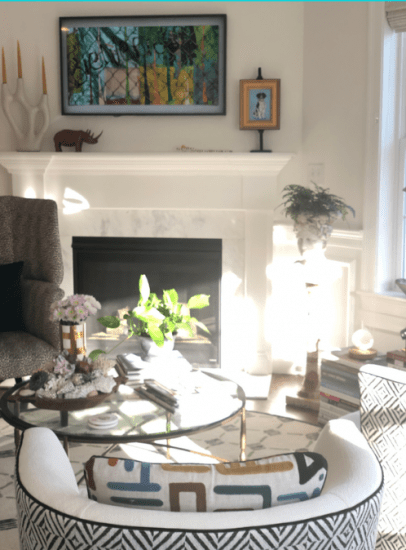
Harsh sunlight streaming through the windows is impossible to work with and will result in a contrasty image with both hotspots and dark shadows.
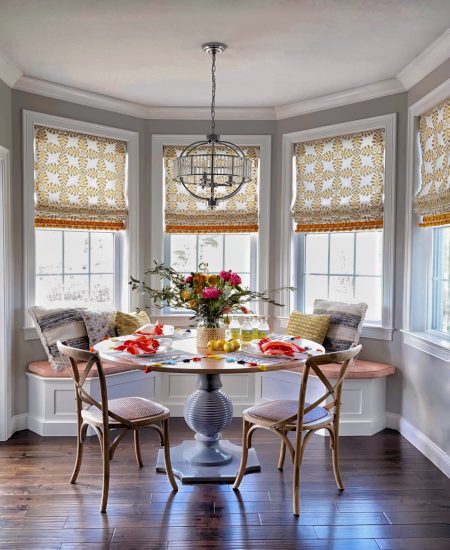
The image below is an example of when you DON’T want to shoot. At 1pm in the afternoon, the sun streams through the window resulting in a lighting nightmare.
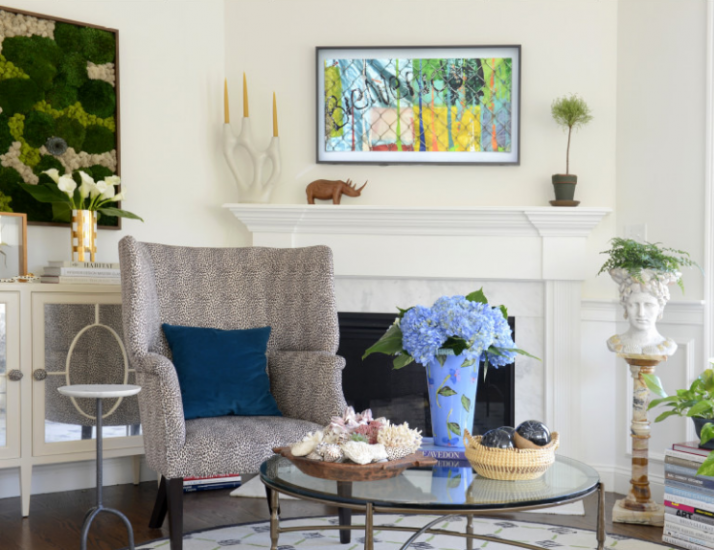
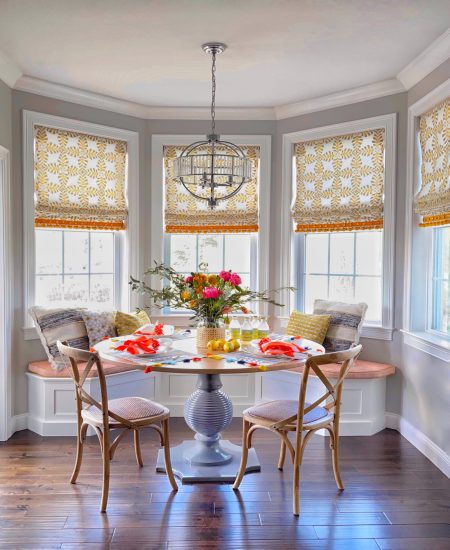
Simply by timing the shoot for when the room is lit with natural EVEN light, the shot went from bad to good. The angle is different but it’s the same room photographed at 4pm after the sun had moved to the opposite side of the house.
3. Get your lines straight
Distorted furniture or walls that appear to be falling inward will ruin an interior photo. When shooting interiors with a smartphone it is so important to get your lines straight.
One way to help make sure lines are straight is by turning on the in-camera grid. Simply go to your Settings > Camera > Grid > On. Once you’ve turned on your grid, look at your space through the screen and get low. Shooting from a standing position with your phone held up by your face, will make your image look like you are looking down on your furniture, and distort objects within your image.
Instead, shoot with your phone between your chest and your waist. This way, your phone will be on the same level as the furniture. You can then line up your grid lines with other straight objects in your image until they are parallel such as walls, doorways, or picture frames.
4. Move things around
Before you take that final shot, look at your camera screen and see if something might look better moved. Would the chair look better moved a foot over to the right? Do the accessories in the bookcase look crowded? Is there a plant that appears to be growing out of the back of a sofa?
So often things look very different in a 2D image than they do in real life. Go ahead and move whatever is bothering you and don’t worry about disrupting the room. Once the photos are done, everything will be moved back.
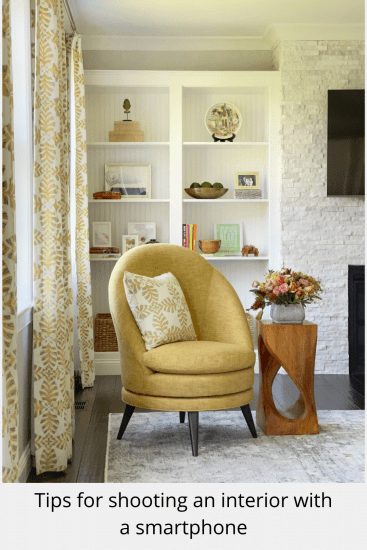
5. Capture detail photos and vignettes
Don’t forget close ups, details and vignettes. Detail shots is where the smartphone really shines. A quick tip to save money is to photograph all the details and vignettes with your smartphone. Then, hire the professional for only the more complicated shots that you are not comfortable taking on your own.
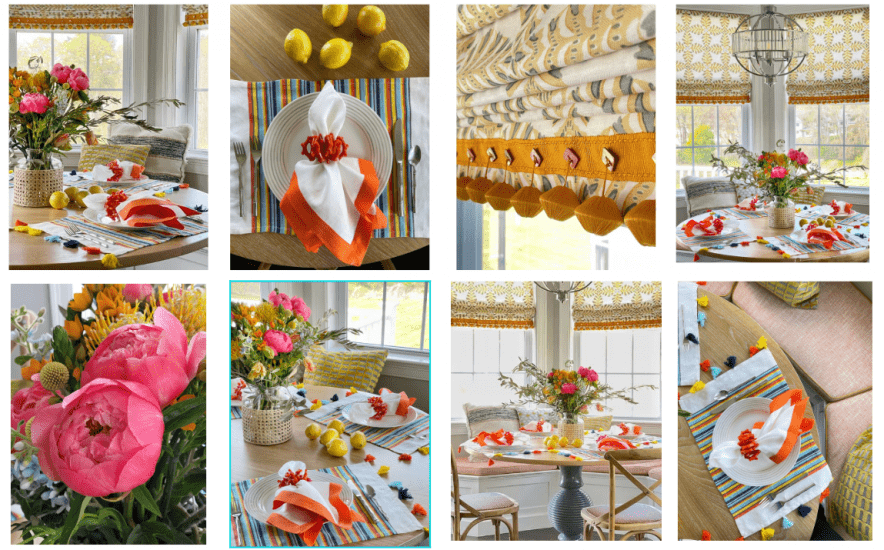
Recently I photographed this kitchen nook for a designer friend, kim Macumber.

Kitchen nook after editing
Before I moved on to the next room I captured about a dozen detail shots and vignettes that she could use later for social media. Below are a few examples.
Remember, you’ve gone to all the trouble to style and set up for the shoot. You don’t want to regret not capturing enough images once you have packed up and driven away.
6. Get comfortable with a couple editing apps
No matter how experienced the photographer, it is rare that they don’t tweak something in post production. As great as the smartphones are these days, there still will be things you will want to improve.
Maybe the image should be a tad brighter, or have a bit more contrast? Maybe the image would look better cropped or a bit more saturated?
There is no shortage of pre-set editing apps you can purchase but a few seconds with an free app such as Snapseed and you can easily transform your image from good to great.
Remember that image I posted above of my friend’s newly designed kitchen nook? Well take a look at the original, before editing image.
Kitchen nook Before editing
It’s not terrible, but in less than a minute I improved it by brightening it, and boosting contrast a bit.
Here is the “after” once more.
For more interior photography tips, don’t forget to grab my free guide: Designer Pro Guide: 5 Smartphone Photography Tips for Scroll Stopping Interior Photos
Want to save this post for later? Just pin photo below

What's in My Camera Bag?
If you want to peek behind the magic curtain and start using the exact same tools that I use, click below.